DIY Window Tinting: What You Should Know
Tinting your car windows might seem like a straightforward task, but it involves more complexities than initially meets the eye. Several important factors need careful consideration before embarking on a DIY window tinting project. Understanding the potential pitfalls, comparing DIY with professional tinting, and knowing the correct procedures can save you significant time, money, and frustration. This guide aims to equip you with the knowledge needed to make an informed decision about whether to tint your car windows yourself or hire a professional, ensuring that your car not only looks good but also complies with legal standards.
Understanding Window Tinting
Window tinting involves applying a thin film to the interior of your car windows, a process that offers several functional benefits. This film can effectively reduce heat and glare, enhance privacy, and protect the interior from harmful UV rays that can cause fading and damage over time. While professional tinting services are readily available, many car owners opt for DIY window tinting kits as a cost-saving measure. However, these kits can present their own set of challenges, including the potential for improper application and inferior results if not executed correctly.
Moreover, the quality of the tint film itself plays a crucial role in the outcome of your DIY project. High-quality films are more durable and offer better UV protection, whereas lower-quality options may not perform as well and could deteriorate faster. It's important to thoroughly research and invest in a good quality tint film to ensure longevity and effectiveness. Additionally, understanding the specifications and properties of different types of films can help you select one that best suits your needs and preferences.
Common Problems with DIY Window Tinting
Bubbles and Creases
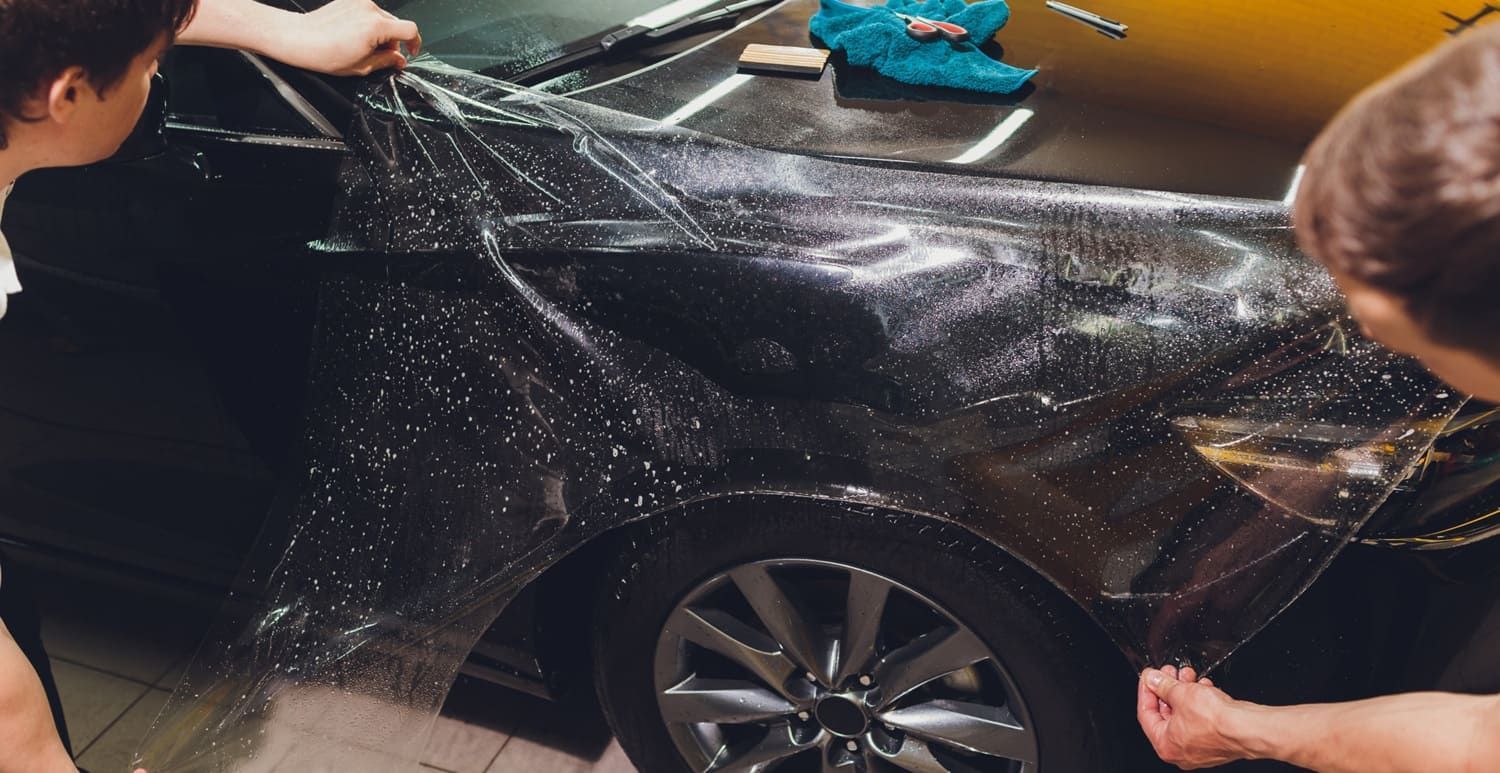
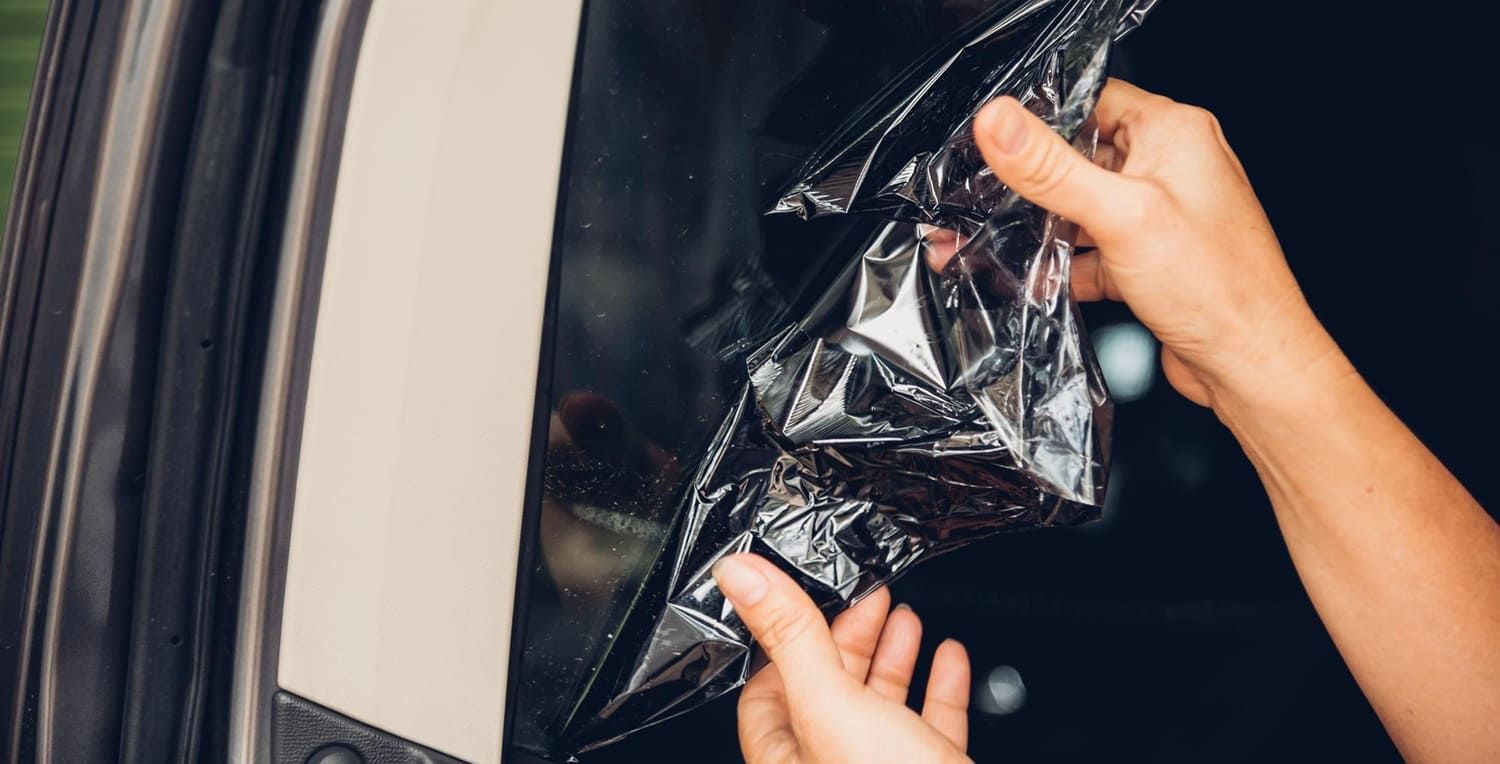
Bubbles and creases are among the most frequent issues encountered with DIY window tinting. These imperfections not only detract from the visual appeal of your vehicle but also compromise the effectiveness of the tint. Bubbles often form if the window surface isn't meticulously cleaned before application or if the film isn't applied with a steady hand. Creases, on the other hand, are usually the result of mishandling the tint film during installation or not using adequate pressure to smooth it out.
Preventing bubbles and creases requires patience and a methodical approach. Proper surface preparation is essential; ensuring that the windows are completely free of dirt, dust, and oil will help the film adhere properly. Utilizing the right tools, like a good quality squeegee, and employing techniques such as working from the center outwards can also help achieve a smooth, bubble-free finish. Additionally, practicing on a smaller, less visible window first can help build confidence and refine your technique before tackling larger, more prominent windows.
Peeling and Fading
Peeling is another common problem often caused by incorrect installation techniques or the use of poor-quality film. Over time, exposure to sunlight can also lead to fading, which diminishes the tint's effectiveness and can result in a patchy appearance. To mitigate these issues, it's crucial to select a high-quality tint film and follow the manufacturer's installation instructions carefully.
Peeling often occurs at the edges and is usually a result of insufficient adhesion during the application process. Ensuring that the film is properly aligned and using a heat gun can help improve adhesion. Fading can be minimized by choosing a tint film with a strong UV protection rating, which not only maintains color integrity but also provides better
protection for your car's interior. Regular maintenance, such as gentle cleaning with appropriate products, can also extend the life of the tint.
Legal Compliance
Legal compliance is a critical consideration in any window tinting project. Each state has its own regulations regarding the permissible darkness and reflectivity of window tints, which can vary significantly. DIY enthusiasts may inadvertently install tints that are too dark or reflective, leading to fines or the requirement to remove the tint. It's essential to thoroughly research and adhere to local laws before embarking on a DIY tinting project.
Failing to comply with
local tinting laws can result in unnecessary legal and financial consequences. Understanding these regulations not only ensures that your vehicle is road legal but also helps you select a tint that meets both your aesthetic and functional needs. Consulting your state's Department of Motor Vehicles (DMV) website or speaking with a local professional can provide clarity on these laws and help you avoid potential pitfalls.
DIY vs. Professional Car Window Tinting
When deciding between DIY and professional tinting, several factors should be considered to determine the best approach for your situation.
Cost
DIY window tinting kits are generally cheaper than professional services, making them an attractive option for budget-conscious car owners. However, if mistakes occur during installation, the cost of replacing the film can quickly add up, negating any initial savings. Professionals, while more expensive initially, often provide warranties that cover potential issues and ensure a high-quality installation that stands the test of time.
In addition to the
initial cost, consider the long-term value of professional installation. A professional's expertise can result in a more durable and aesthetically pleasing tint, potentially increasing your vehicle's resale value. Moreover, the peace of mind that comes with knowing the job was done correctly can be invaluable, especially if your time is limited or your confidence in your DIY skills is low.
Skill Level and Tools
Tinting car windows requires precision, patience, and the right set of tools. Without the necessary skills or equipment, achieving a flawless result can be challenging. Professionals possess the experience and specialized tools needed to deliver high-quality results consistently. If you're not confident in your abilities or lack the proper tools, hiring a professional might be the better choice to avoid costly mistakes.
Investing in the right tools for a DIY project can be a significant upfront expense. Tools such as heat guns, precision knives, and specialized squeegees are essential for a successful application. If you choose to go the DIY route, consider the investment in tools as part of the overall cost and weigh it against the potential savings from not hiring a professional.
Time and Effort
DIY window tinting can be a time-consuming endeavor, particularly for those new to the process. Preparing the windows, cutting the film, and applying it without errors can take several hours, especially if you're learning as you go. A professional, on the other hand, can complete the job more quickly and efficiently, allowing you to spend your time on other priorities.
Time is a valuable resource, and the time spent on a DIY project should be factored into your decision. Consider whether the time investment aligns with your schedule and if the potential learning curve is something you're willing to tackle. For many, the convenience of having a professional handle the task outweighs the cost savings of a DIY approach.
Steps to Successful DIY Window Tinting
If you decide to proceed with DIY window tinting, following a structured approach can significantly increase your chances of success.
Gather Necessary Tools and Materials
Before starting, ensure you have all the necessary tools and materials ready. This includes the tint film, a sharp utility knife, a quality squeegee, a spray bottle filled with soapy water, and a heat gun or hairdryer. Having everything on hand will make the process smoother and more efficient, reducing the likelihood of interruptions or mistakes.
Additionally, ensure you have a clean, dust-free workspace where you can lay out and cut the film without contamination. Organizing your tools and materials beforehand can help streamline the process and minimize errors. It may also be helpful to have a second person available to assist, particularly for larger windows or more complex applications.
Clean the Windows Thoroughly
A clean surface is essential for a successful tint application, as any dirt or residue can prevent the film from adhering properly. Use a glass cleaner and a microfiber cloth to meticulously remove dirt, dust, and grease from the windows. Pay special attention to the edges and corners, where residue often accumulates and can lead to bubbles or peeling.
In addition to cleaning, consider using a razor blade or similar tool to gently scrape away any stubborn debris or adhesive residue. Ensuring that the windows are impeccably clean will provide a solid foundation for a smooth and durable tint application. Take your time with this step, as it sets the stage for the entire tinting process.
Measure and Cut the Tint Film
Measure each window carefully and cut the tint film to size, leaving a small margin for adjustments. It's better to cut the film slightly larger than needed, as you can trim the excess later for a precise fit. Use a sharp utility knife to ensure clean, precise cuts and minimize the risk of tearing or uneven edges.
Consider creating a template for each window using inexpensive materials like butcher paper to ensure accuracy and reduce waste. Taking these extra steps can simplify the cutting process and help you achieve a more professional-looking result. Remember, precision in measuring and cutting will directly impact the quality of the finished product.
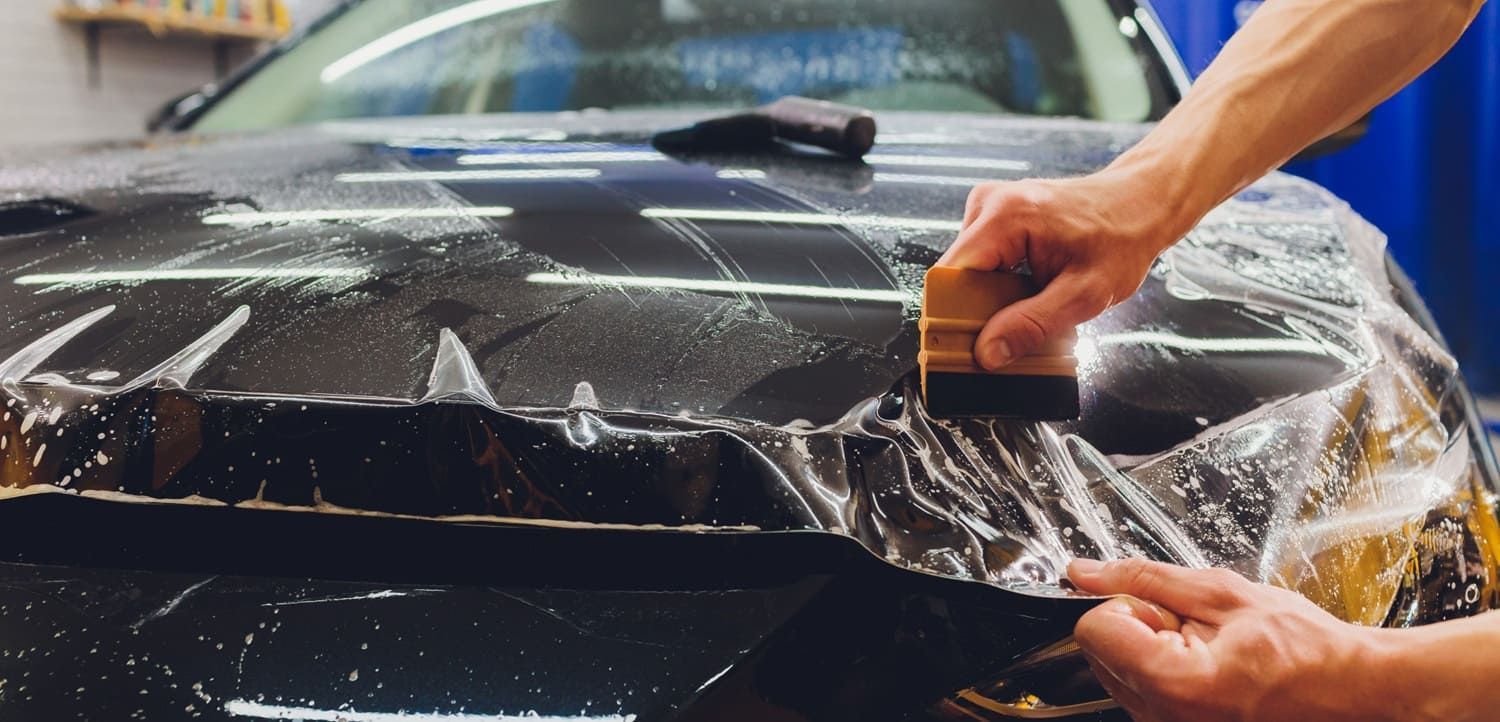
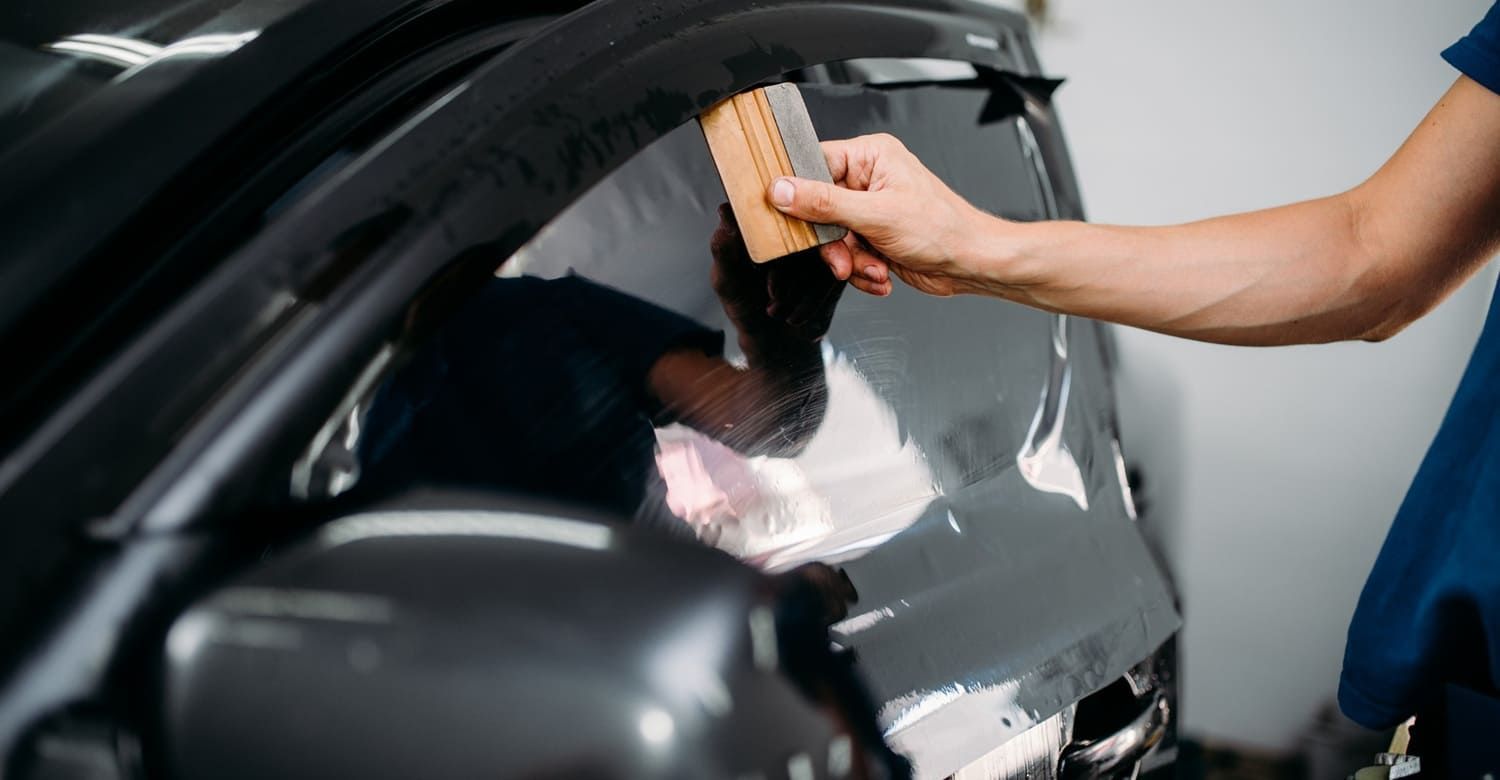
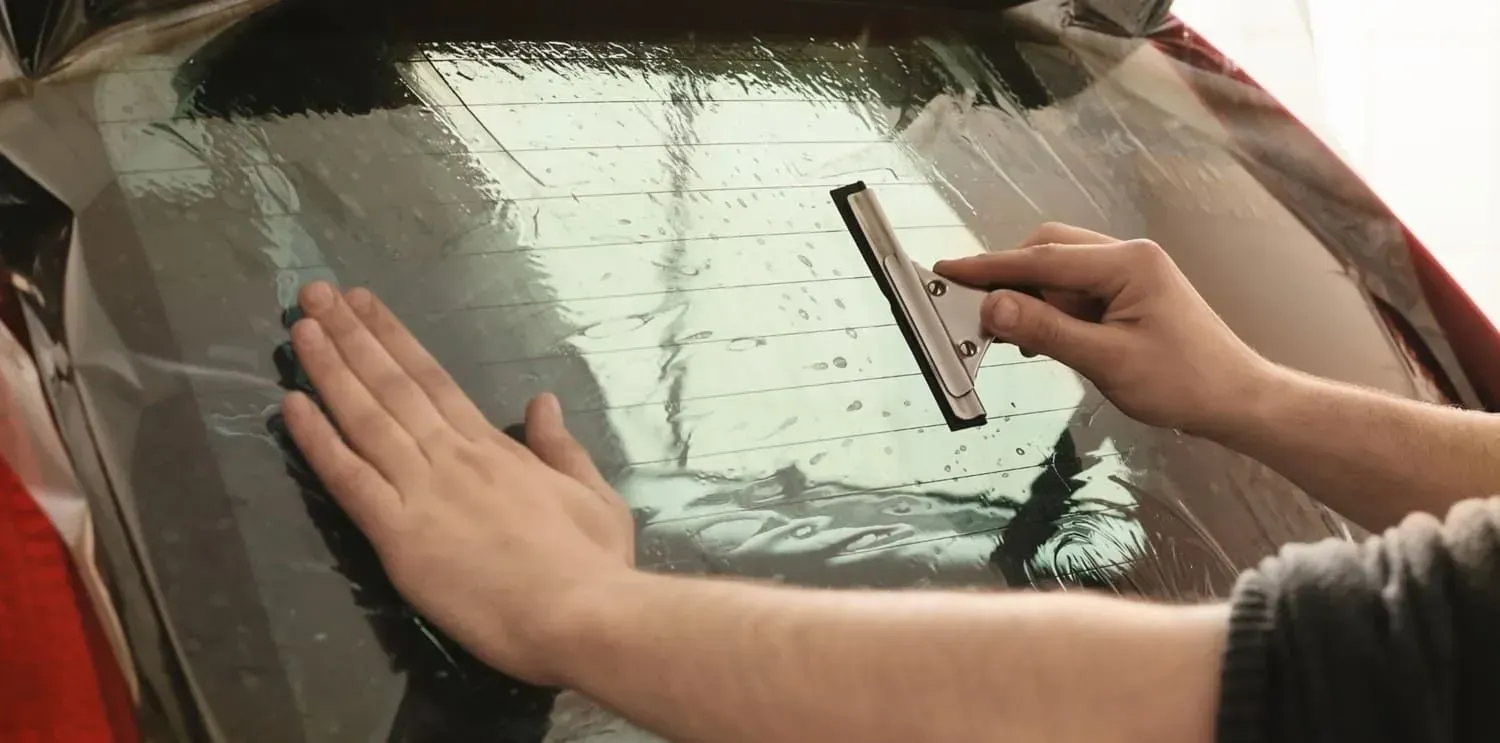
Apply the Tint Film
Spray the window with soapy water to facilitate the film's adjustment during application, allowing it to slide into position easily. Peel off the backing from the tint film and carefully place it on the window, using the squeegee to smooth out bubbles and creases from the center outward. Work slowly and methodically to ensure an even application and avoid rushing, which can lead to mistakes.
Applying the film in a dust-free environment is crucial to prevent debris from becoming trapped between the film and the glass. Using controlled, even pressure with the squeegee will help eliminate air pockets and ensure a strong bond between the film and the window. Take your time, as rushing this step can lead to errors that are difficult to correct.
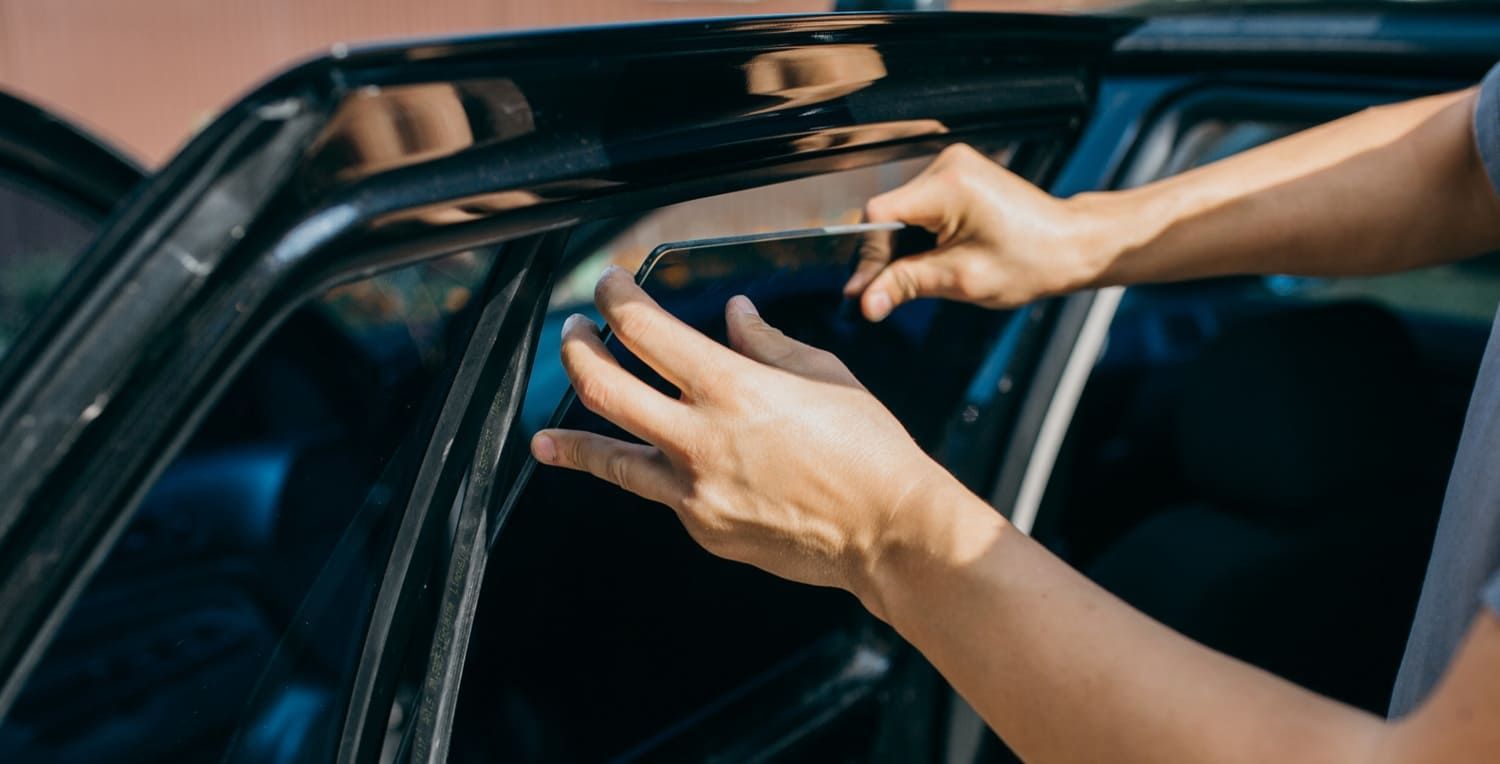
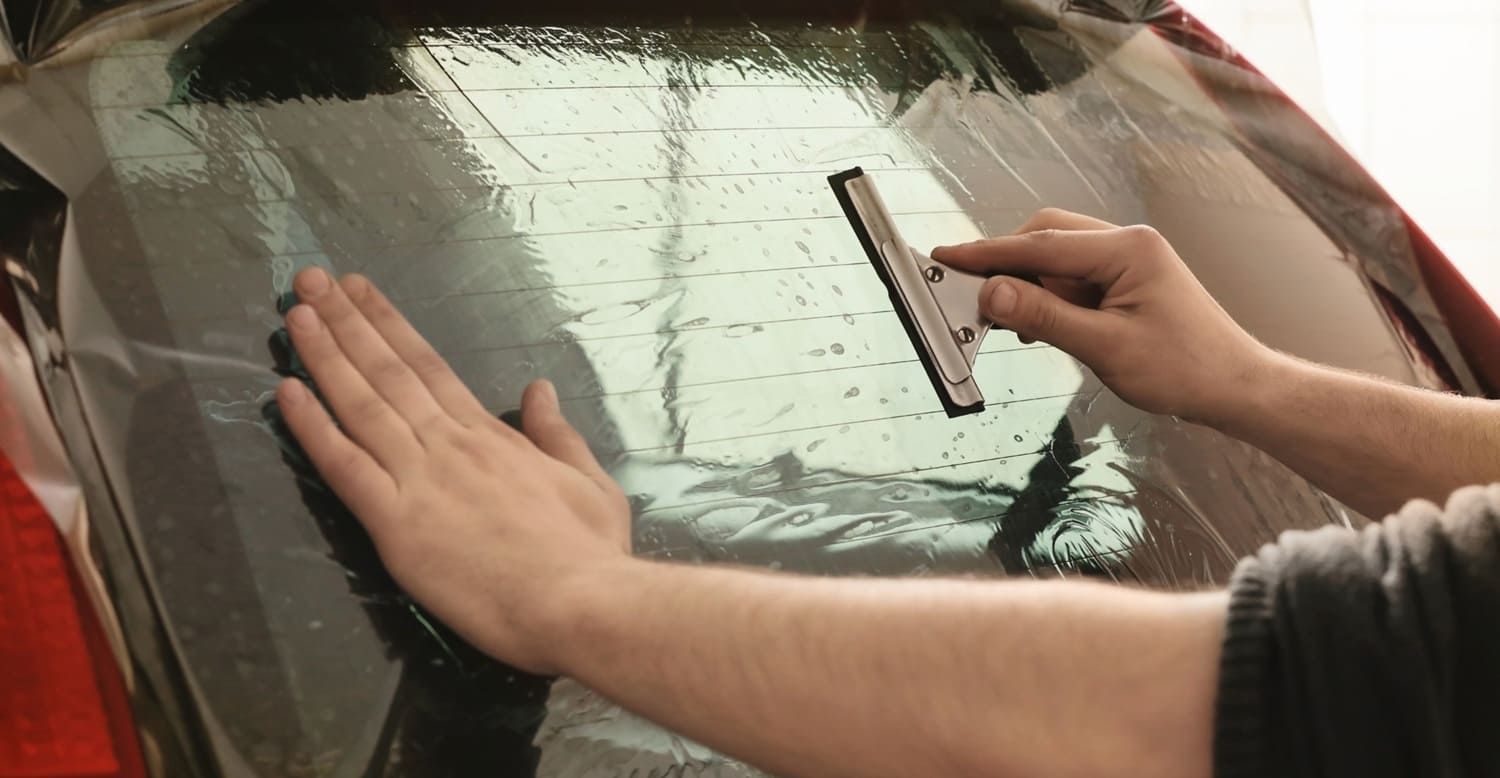
Trim Excess Film
Once the film is in place and smooth, use the utility knife to trim any excess film from the edges. Be careful not to scratch the glass or cut into the rubber seals, as this can compromise the film's adhesion and appearance. Precision is key in this step to achieve a clean, professional finish.
Taking the time to carefully trim the edges will enhance the overall appearance of the tint and prevent peeling at the edges. Use a steady hand and consider employing a straightedge as a guide for cleaner cuts. This attention to detail will ensure that your DIY tinting looks polished and professional.
Heat and Set the Tint
Using a heat gun or hairdryer, gently heat the film to help it adhere to the window and eliminate any remaining bubbles. Move the heat source in circular motions to avoid overheating a single spot, which can cause the film to warp or become damaged. This step not only secures the tint but also helps to set it in place for long-lasting results.
Applying heat evenly across the film will help it conform to the contours of the glass, reducing the risk of peeling or bubbling over time. Be cautious with the heat settings to prevent damage to the film or the vehicle's interior. A consistent and careful application of heat will ensure a strong, lasting bond.
Conclusion: Making an Informed Choice
DIY window tinting can be rewarding for those with the patience and skill to do it right. However, it comes with challenges such as potential mistakes and time investment. At Metropolitan Tinting in Alpharetta, GA, we offer professional window tinting services that ensure high-quality results, enhanced appearance, comfort, and valuable UV protection.
Whether you choose to DIY or hire our experts, proper installation is crucial for
maximizing benefits and complying with legal requirements. Trust Metropolitan Tinting to provide flawless tinting that enhances your vehicle’s look and functionality.
Contact us today for a free estimate and let our trusted team help you achieve the perfect window tint for your car.